
I perfected the base makeup routine of my dreams
Here are my fave products (+ tips!)
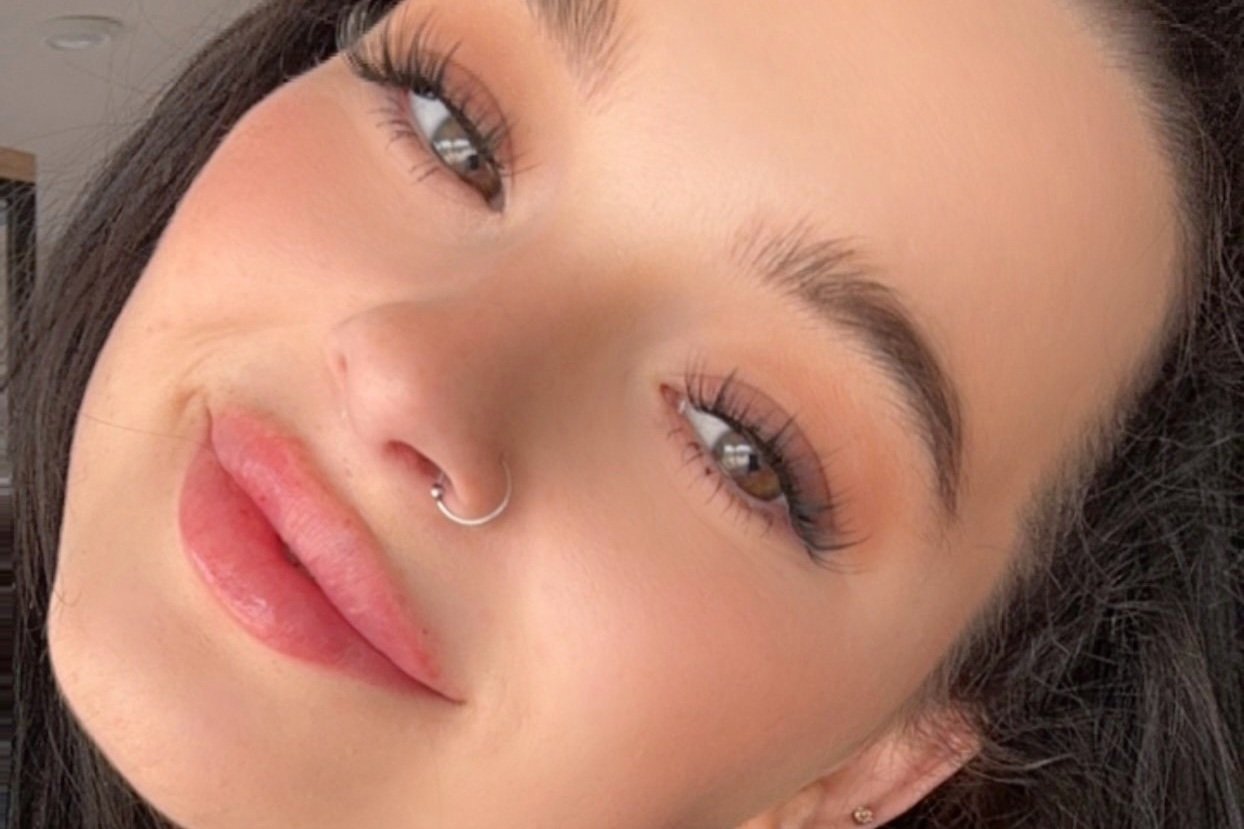
I’ve been experimenting with makeup ever since I was in elementary school. Once I discovered foundation, powder, bronzer, and blush in middle school … let’s just say I’m very thankful I wasn’t made fun of (to my clown-ish face, anyway). Ever since then, I’ve been playing with different products and techniques, and although it took me a good 15 years, Mama, I made it! Here are my favorite products and techniques I use to get that gorgeous-full-coverage-but-doesn’t-look-like-it makeup base:
(ps- I am not a dermatologist or licensed cosmetologist. This is what works for me and my skin.)
First things first: Wash your face
This is arguably one of the most important things to do before applying any skincare or makeup products. Honestly, it’s important you do this every day, even if you aren’t going to be wearing makeup. Your face naturally gathers bacteria, pollutants, dirt, old skin cells, and even viruses throughout the day, so washing these impurities away is important. Putting any sort of moisturizer or cream on top of a dirty face would not only give you a not-so-fresh look, but it’d be pretty unhealthy. According to Westlake Dermatology, “Without washing, your skin would be covered with a thick layer of dirt and grime which make it difficult for other products to penetrate the skin properly."
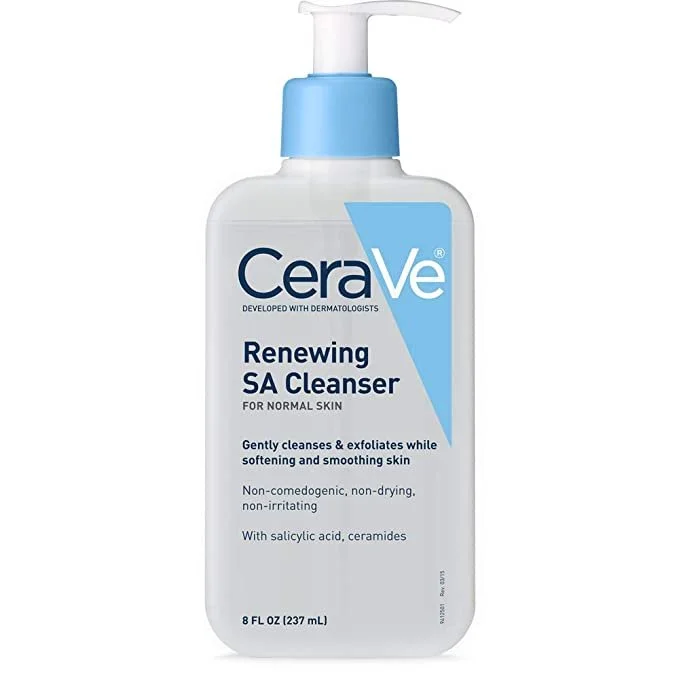
My fave cleanser: Cerave SA Cleanser. This cleanser is not only healthy for your skin and dermatologist-recommended, but my skin has cleared up SO MUCH since using it.
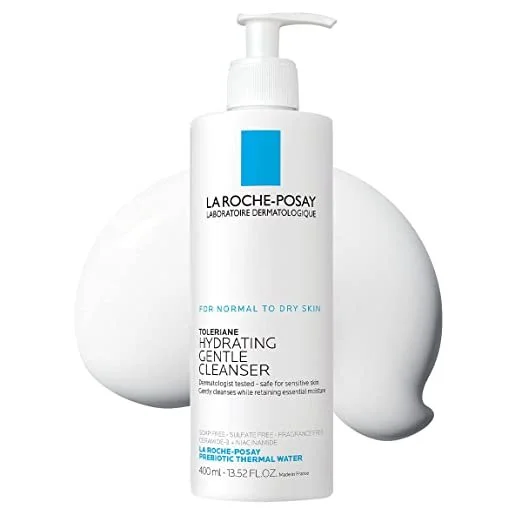
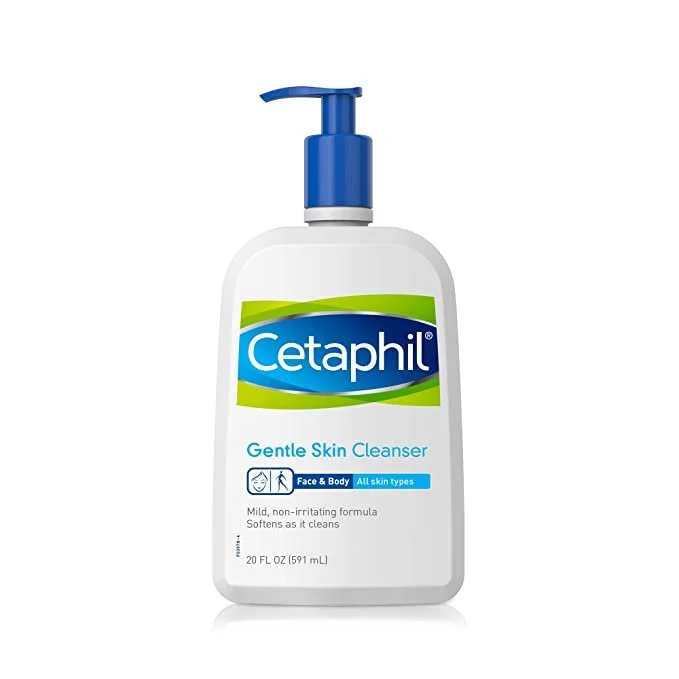
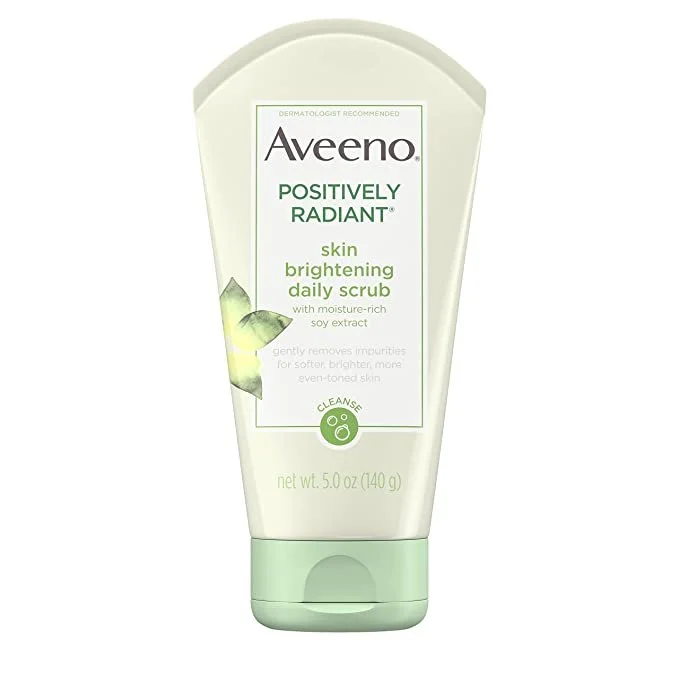
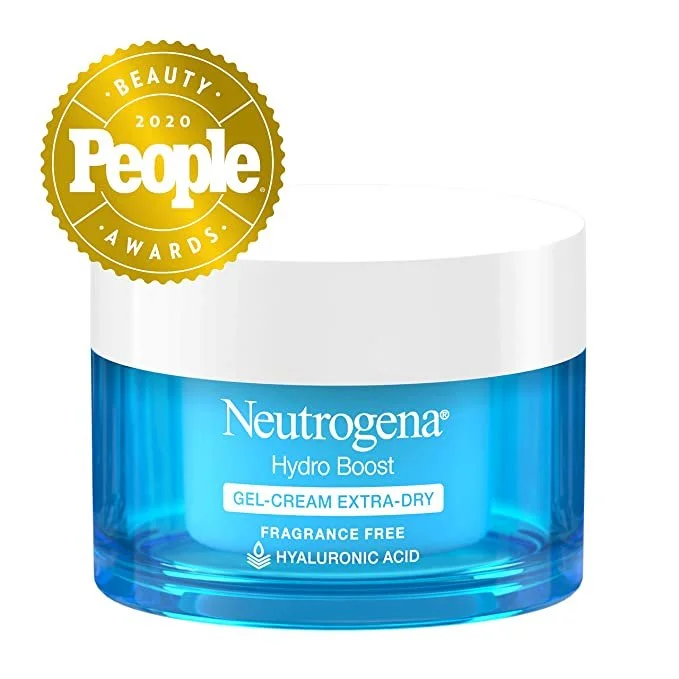
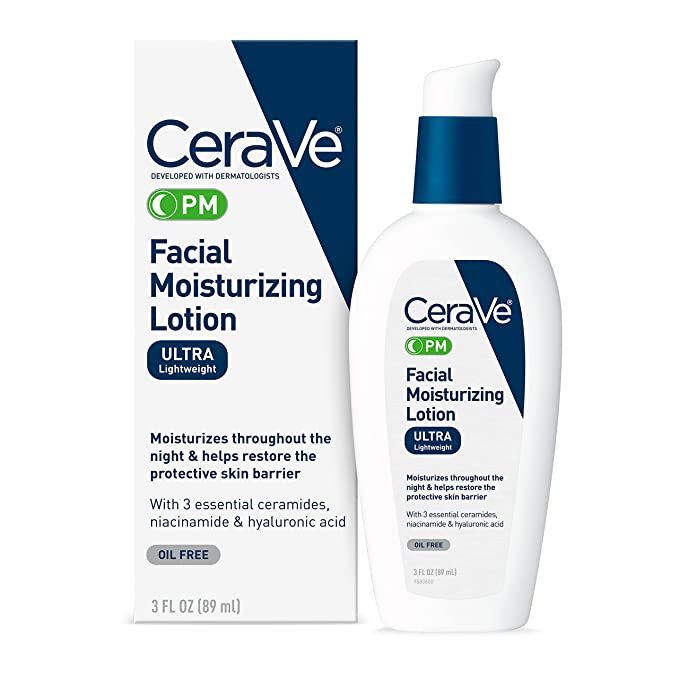
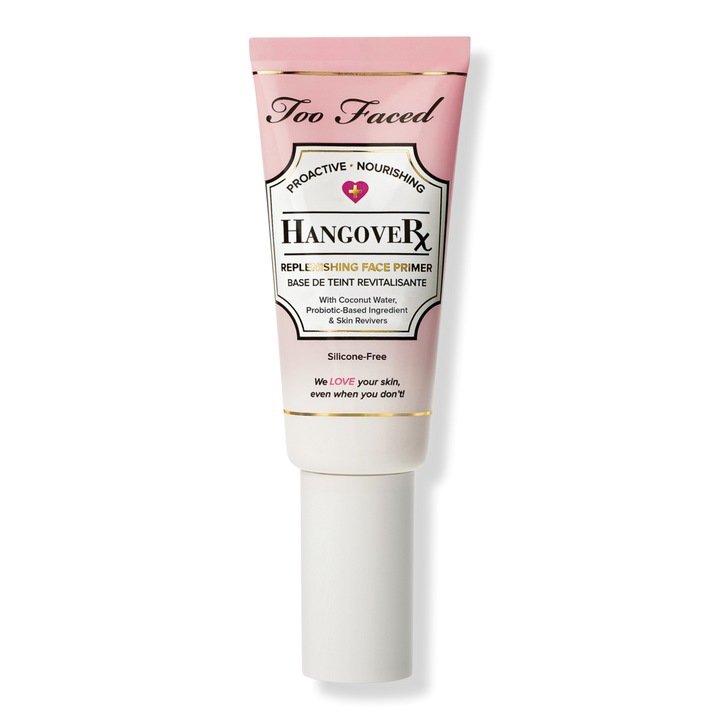
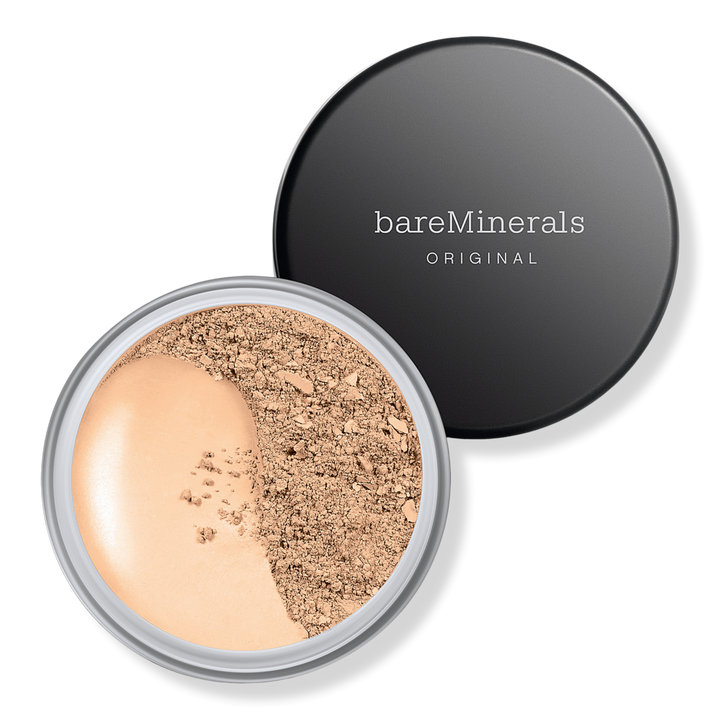
Other recommendations:
Moisturize, moisturize, moisturize
This is also a key step that should never be skipped. There are two reasons why. For one, it smoothes the skin’s surface for a more even foundation application. And two, your makeup will look less dull and cakey if the skin underneath is hydrated. Even if you have oily skin and you think moisturizers will only make it worse.. think again :) Garnier writes on their website that “Applying makeup to oily skin can be difficult because it lacks staying power — it can dissolve off of skin without a trace. With the right moisturizer, you can prevent this “slipping” of your makeup off your skin and mattify your skin prior to application.”
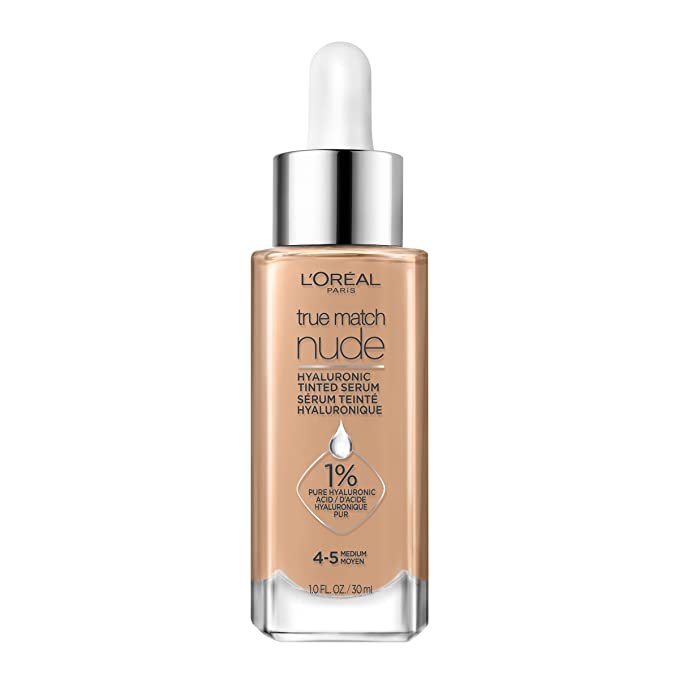
My fave moisturizers: I use a glow serum and a moisturizer before applying my base makeup. Wet n Wild Brightening Primer Serum is not only super affordable but really lightweight. It provides a beautiful, radiant glow that is perfect for applying foundation on top of. I then go in with L'Oreal Paris True Match Lumi Glotion to provide an extra layer of glow and hydration.
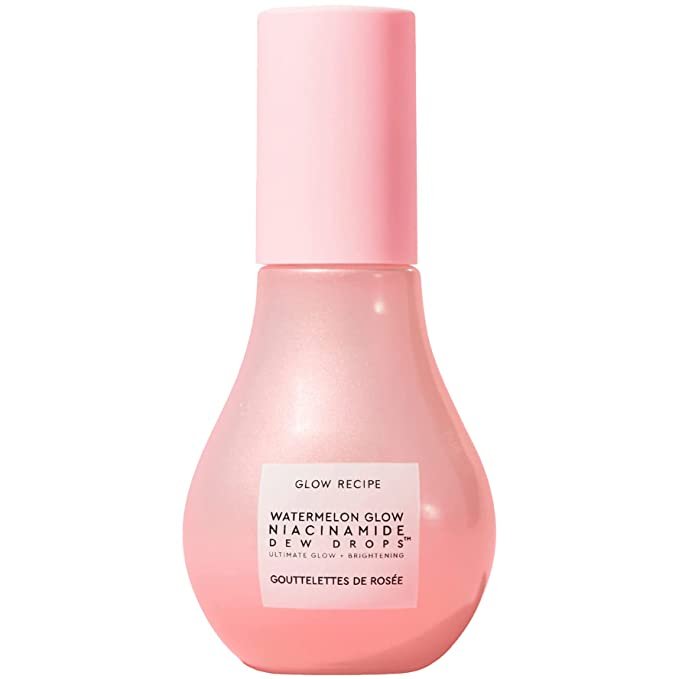
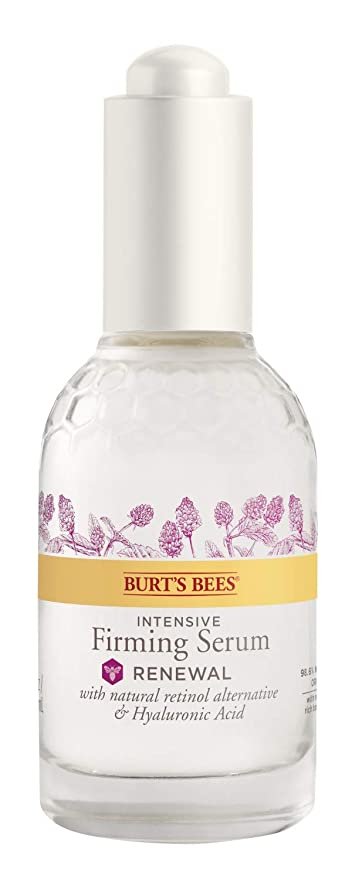
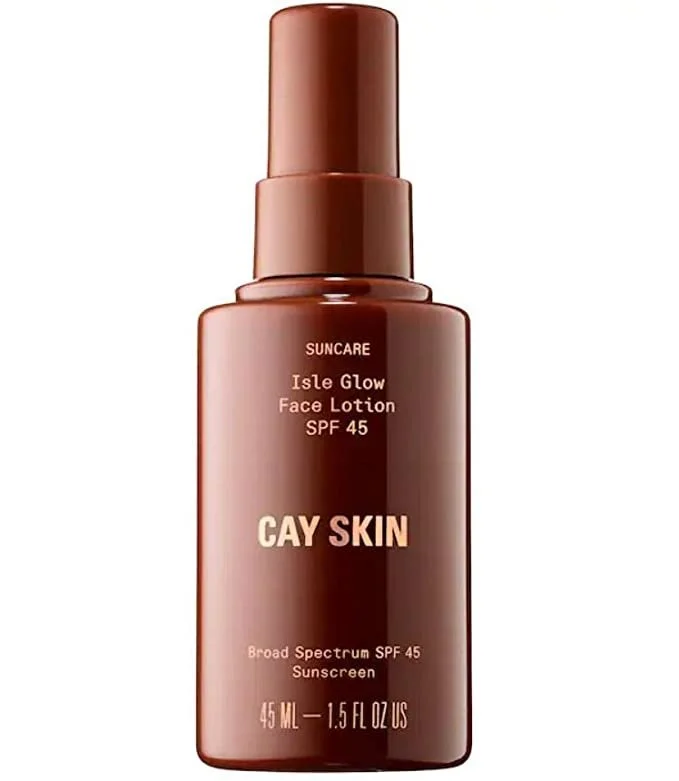
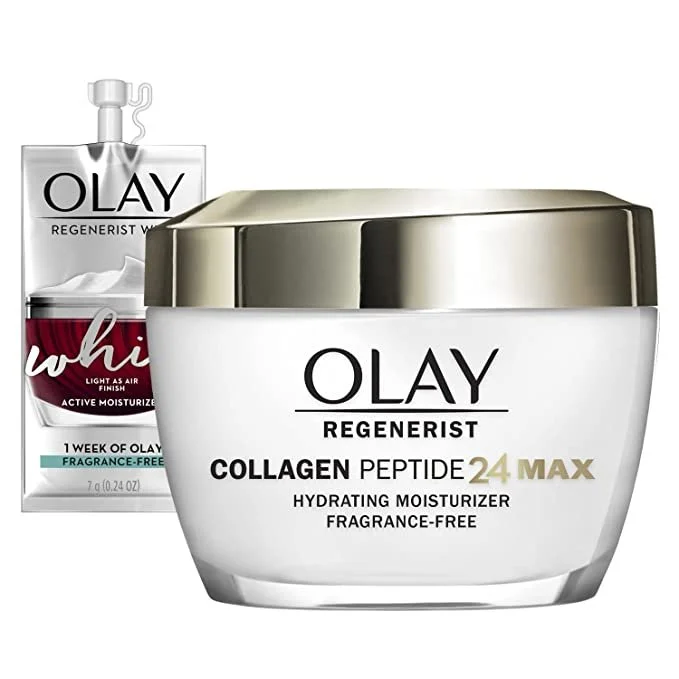
Other recommendations:
To prime, or not to prime…
I’m not a religious primer person. I KNOW, don’t look at me funny. I say this because, by this step, I’ve already applied two products to the face, and adding a third before foundation feels like overkill. My serum and lotion do a great job of hydrating my skin, and because I don’t have huge pores, I can get away with it. However, I have accumulated a few faves in this department for blurring large pores and keeping makeup lasting forever. If you want to apply a serum, then go in with primer, that sounds wonderful, and I think you should do that.
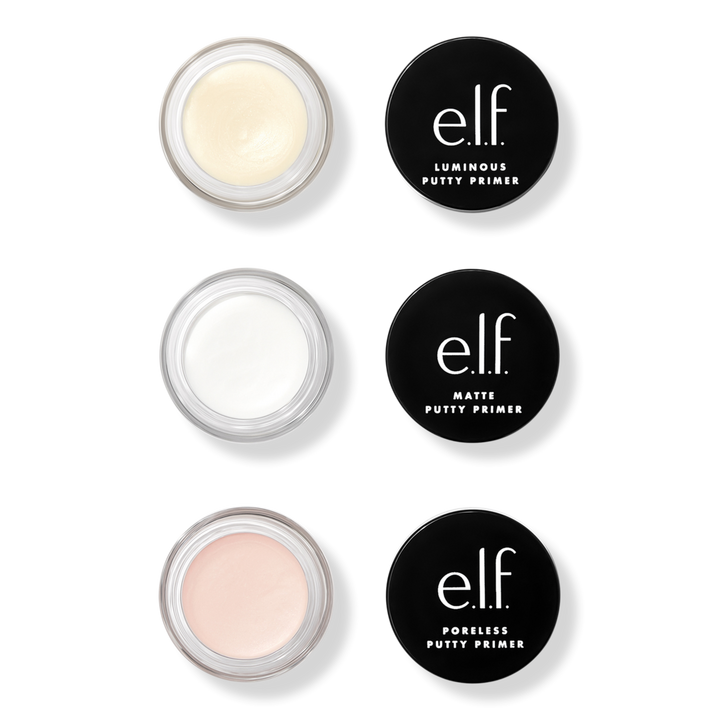
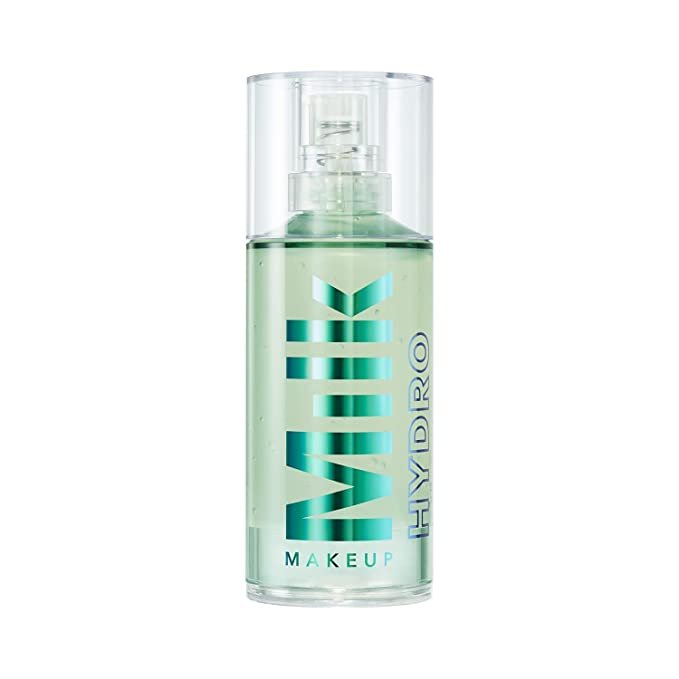
My fave primers: for blurring the skin before foundation, I am obsessed with e.l.f. Cosmetics Poreless Putty Primer. You see a huge difference in your skin after applying this, and may not even need foundation if you don’t want a full-coverage day. When it comes to keeping makeup lasting forever, e.l.f. Cosmetics Power Grip Primer is BADASS. (In fact, I gave this product the No. 1 ranking at Glam’s Beauty Awards for the “budget buys” category.) A more affordable dupe for MILK MAKEUP Hydro Grip Hydrating Makeup Primer (another favorite, will link below), this stuff is so sticky and keeps makeup super locked in.
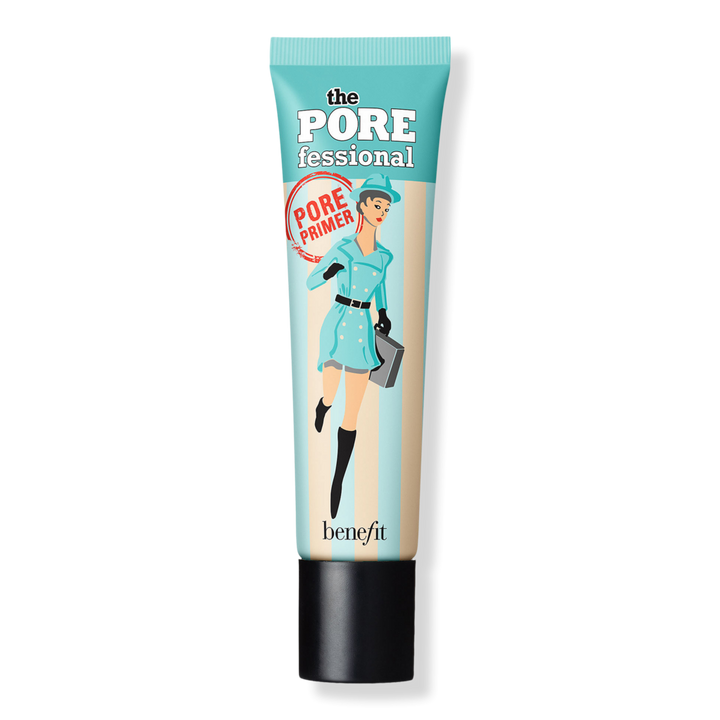
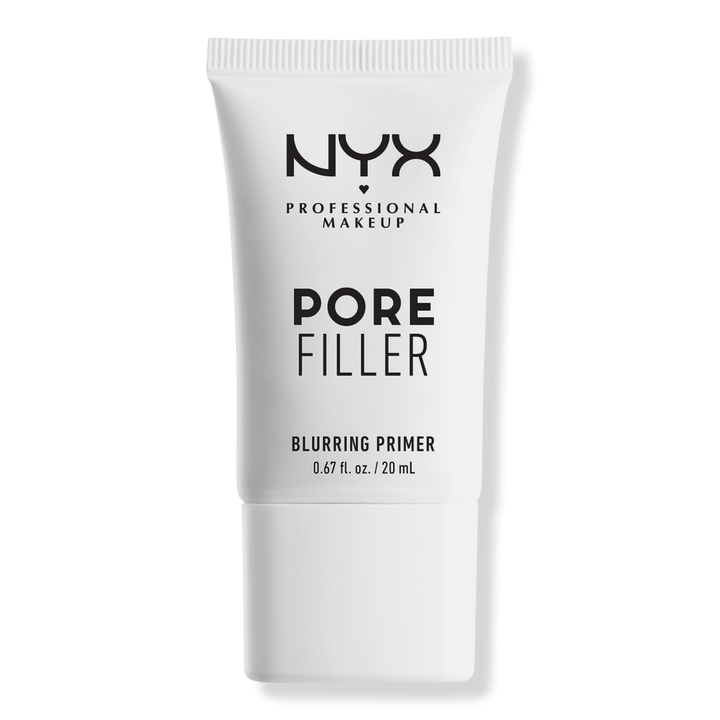
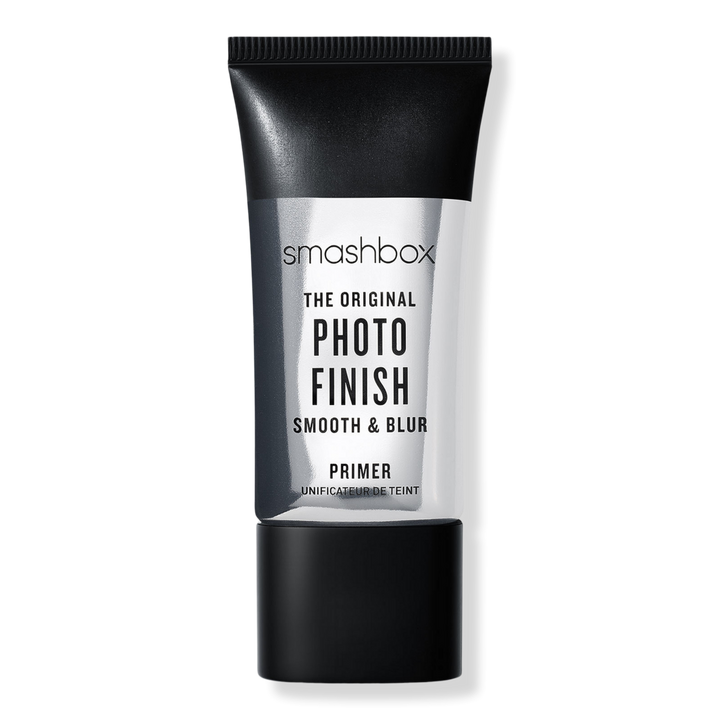
Other recommendations:
Time for the fun part! Foundation.
When it comes to foundation, there are so many to choose from, and it all depends on the look you are going for. Full-coverage, medium-coverage, “your skin but better” coverage, dewy, matte, satin, AHHH … where do you even begin? My personal preference is a hydrated, full-coverage finish (unless I’m out running errands or doing something low-key, then I opt for a lightweight, dewy finish).
I apply my foundation with a beauty blender or any kind of soft beauty sponge, like my favorite affordable Sonia Kashuk Filter Makeup Sponge. I ALWAYS use a damp sponge, as I find it blends my makeup better and provides a seamless application. I use a pretty liberal amount, dabbing the product all over my skin.
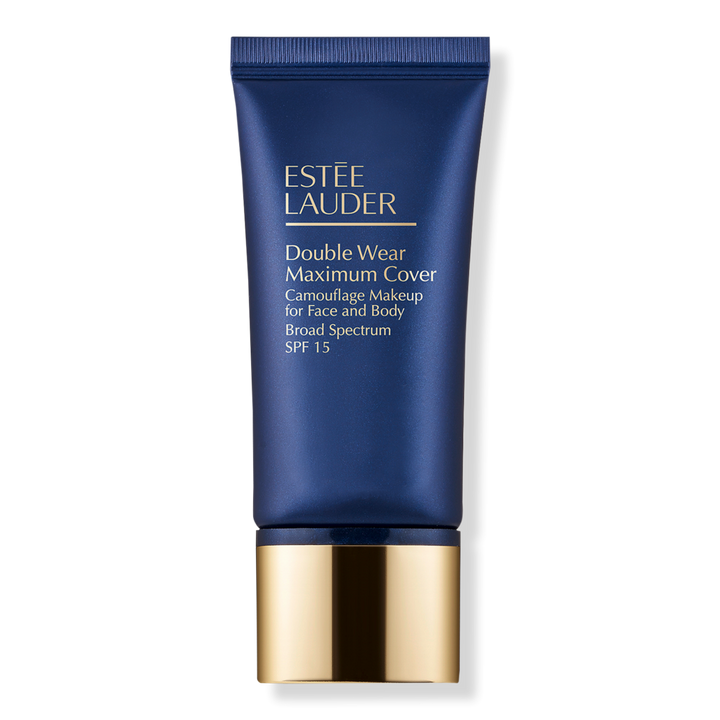
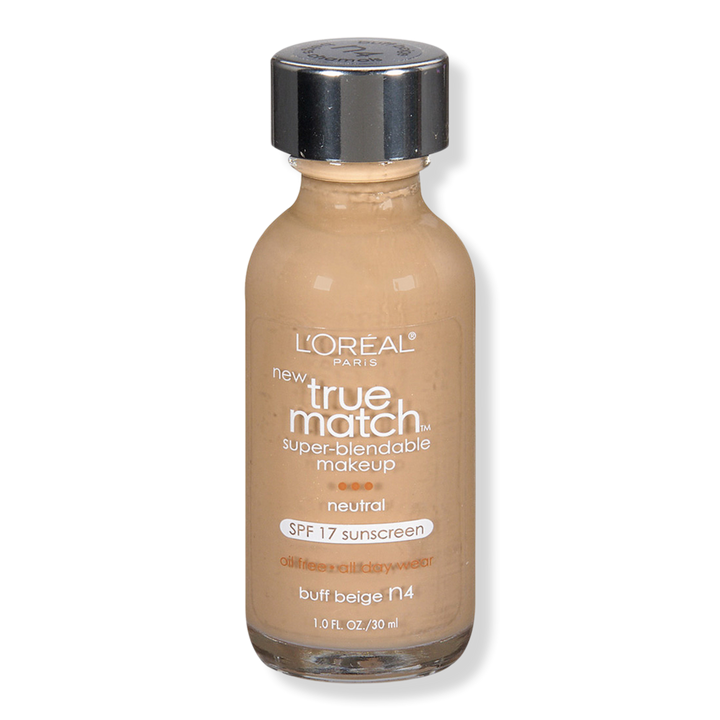
My fave foundations: For a full-coverage look, I go with my tried-and-true “I’ll be wearing this on my wedding day” foundation: Estee Lauder Double Wear Stay-In-Place Foundation. It lasts so long, and even after a night of dancing and sweating, still looks stunning. For a more natural look, I go for L’Oreal Infallible 24-Hour Fresh Wear Foundation. This foundation is not only long-wearing but lightweight and provides a dewy, effortless glow.
Other recommendations:
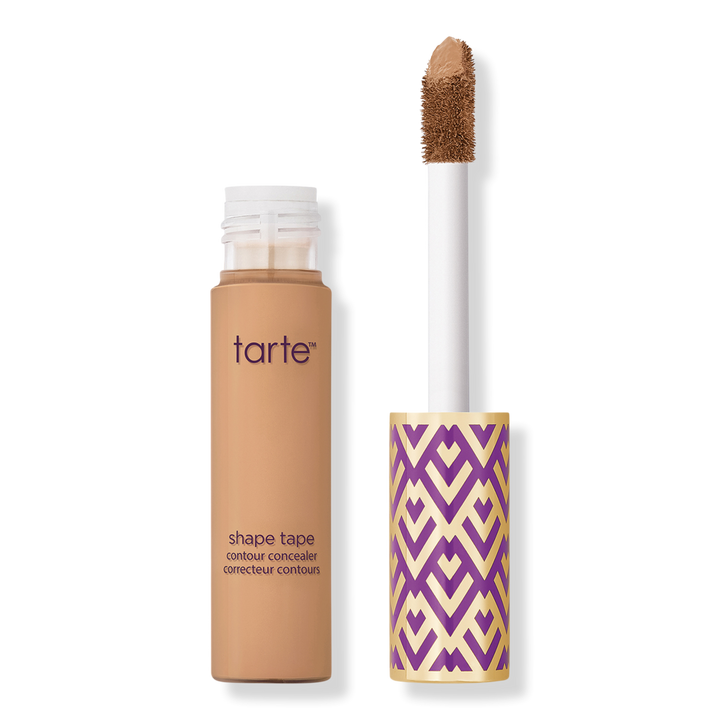
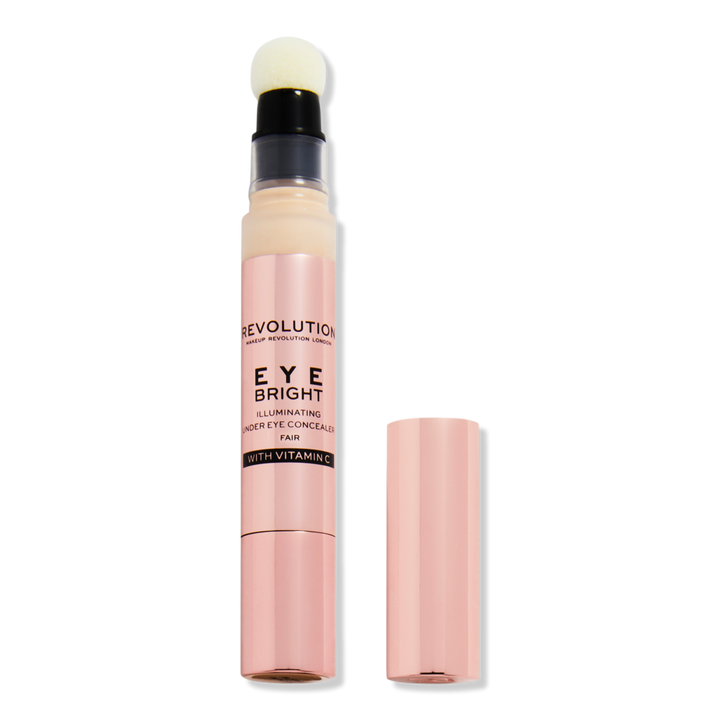
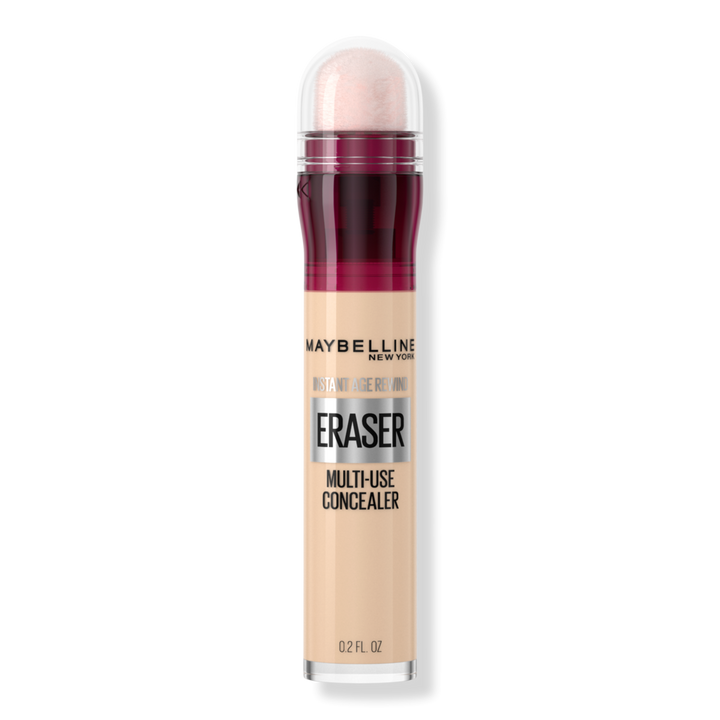
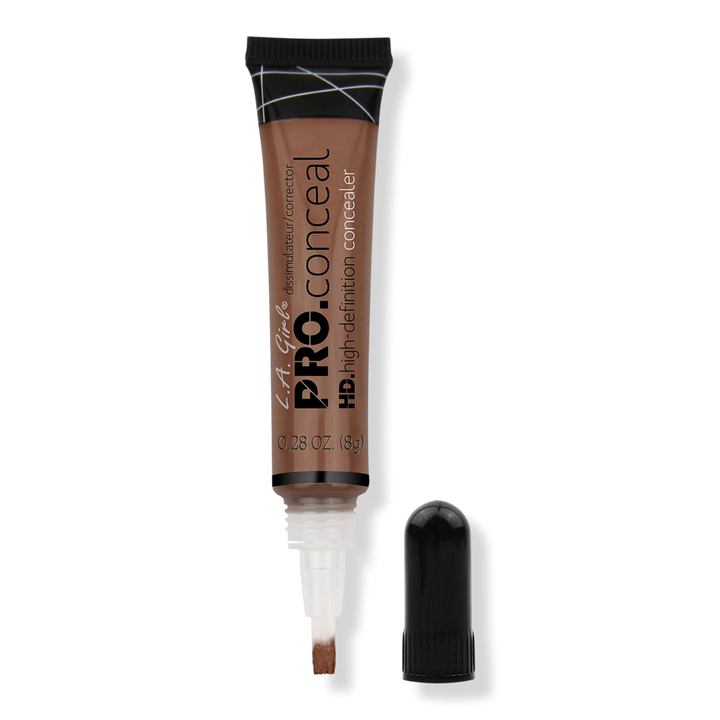
Then, we go in with concealer and cream contour
I use concealer to brighten and highlight my face. This technique brightens dark spots and draws the eyes in. I apply concealer to the high points of my face: under my eyes, chin, nose, and center of forehead in between my brows, like so:
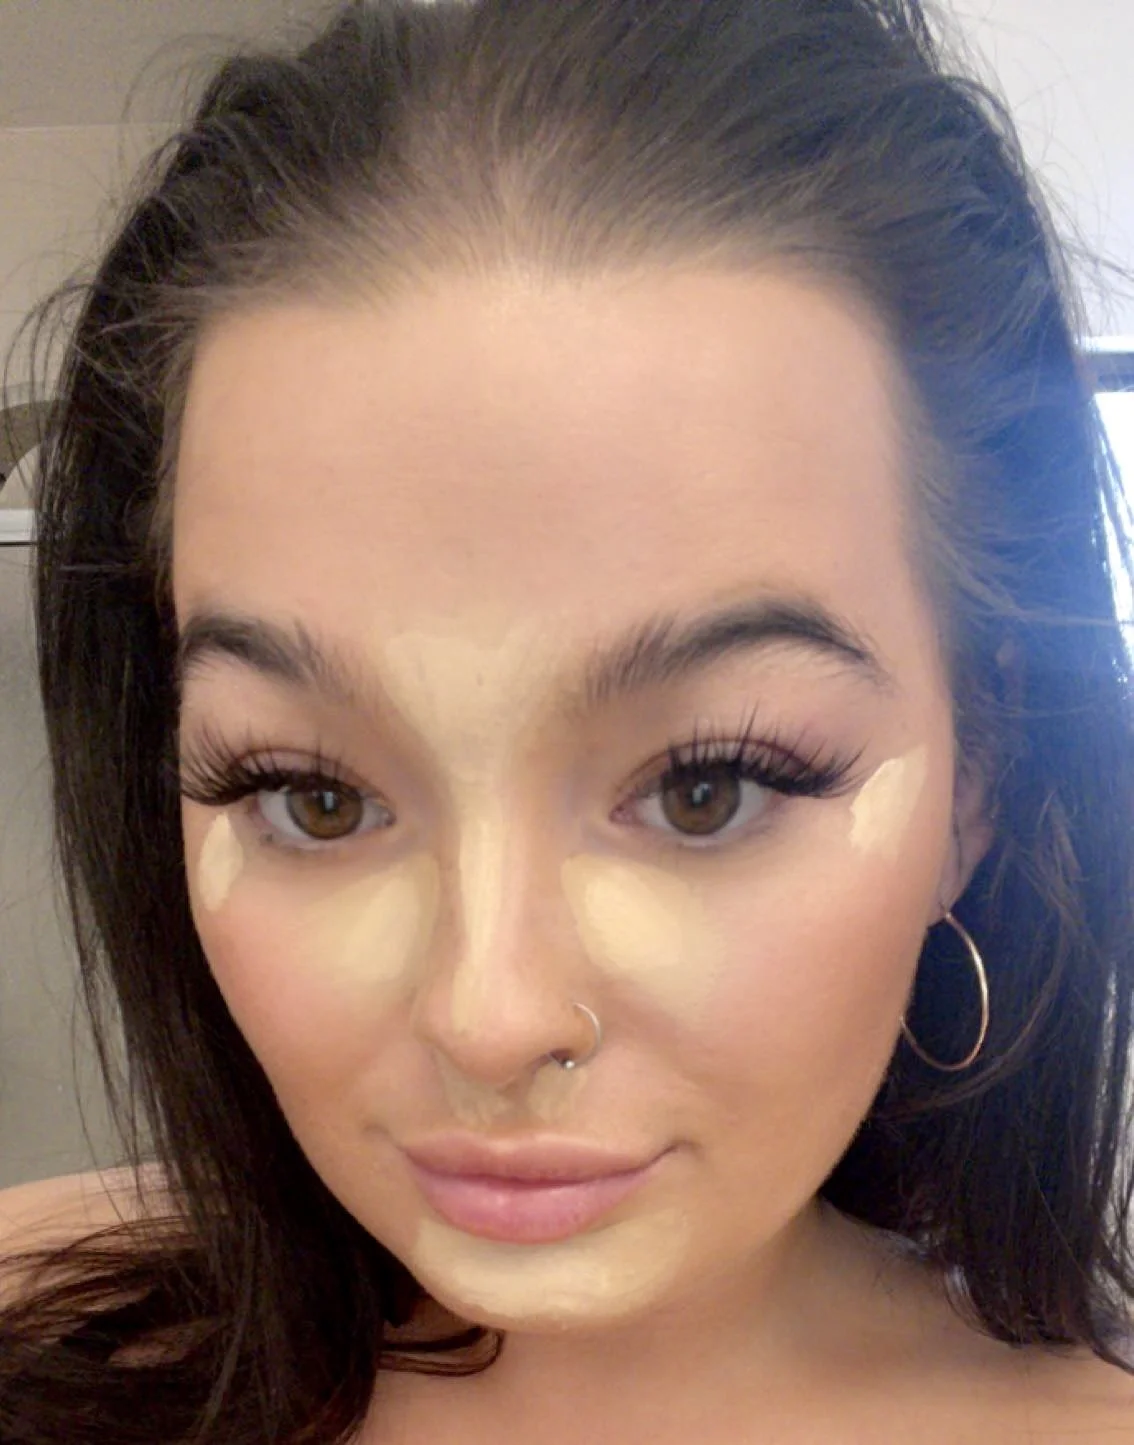
Since I use concealer to highlight, I pick a shade that’s a few shades lighter than my skin tone. I also always blend it out using my trusted beauty sponge.
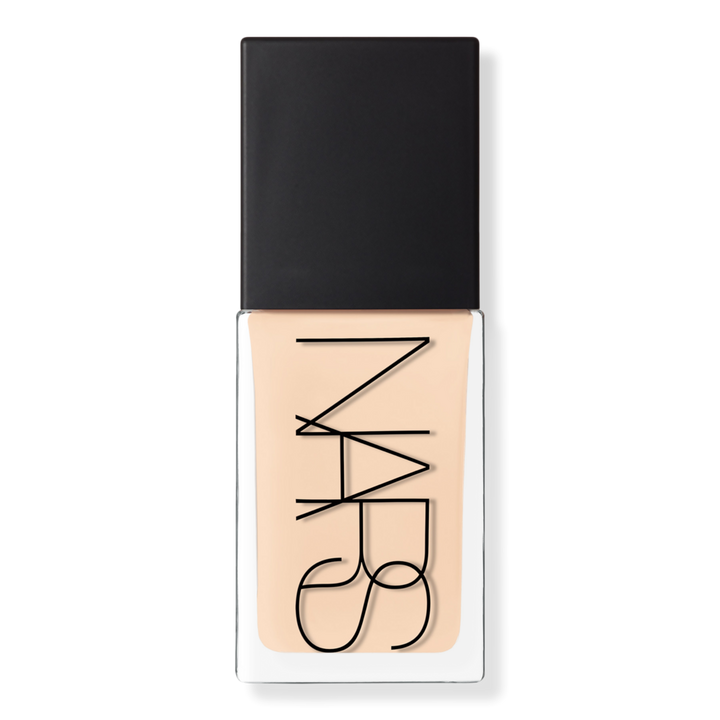
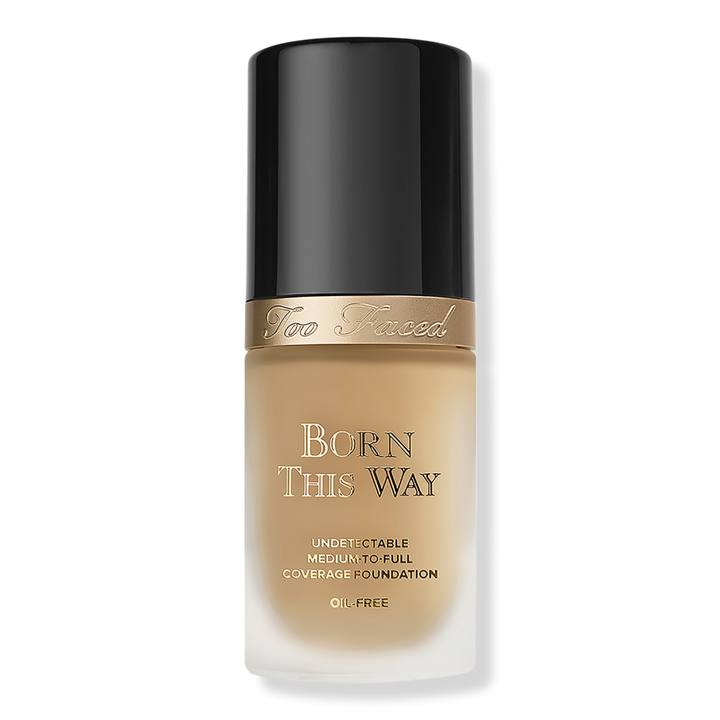
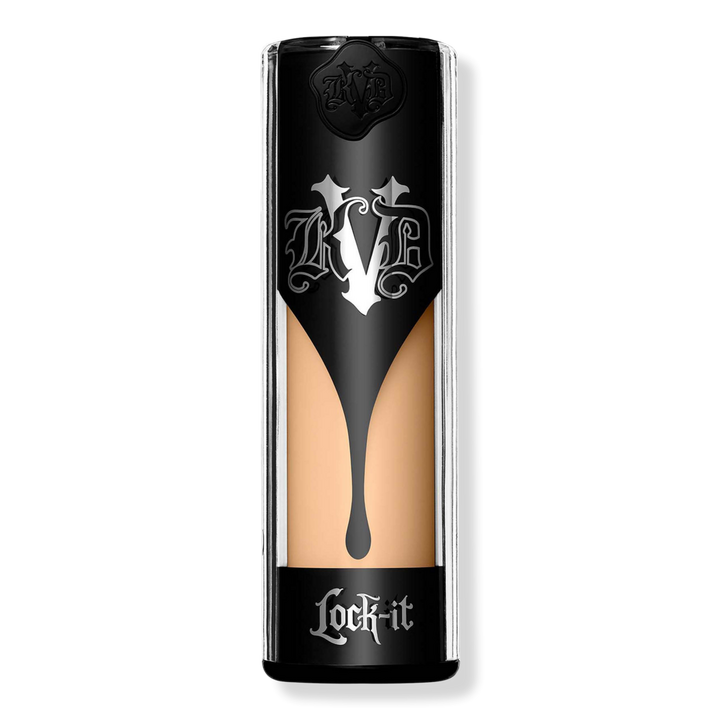
My fave concealer: I have pretty dry under-eyes, but still love that full-coverage look. TOO FACEDBorn This Way Super Coverage Multi-Use Sculpting Concealer is perfect! NARS Radiant Creamy Concealer is a very close second.. maybe tie for first.
Sometimes, if I’m feeling extra, I’ll apply a cream contour to the hallows of my cheeks and the top of my forehead with my beauty sponge. For this, I use Charlotte Tilbury Hollywood Contour Wand. It blends like a dream and is super glowy.
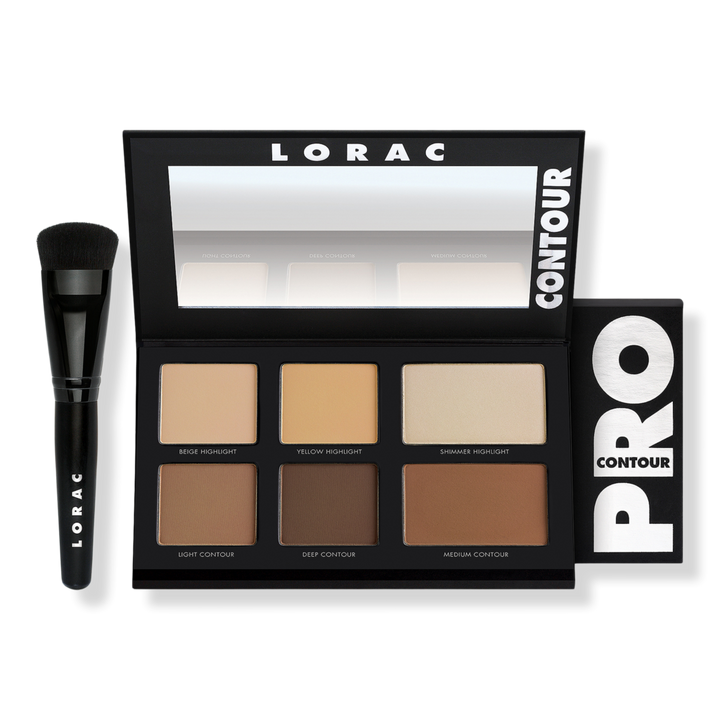
Other recommendations:
Powder time!
Immediately after applying concealer, I go in with a powder to set my makeup in place. I say immediately after because if you let the concealer sit too long before setting, it can start to crease. If you find your concealer sits too long before powder, you can go back in with your beauty sponge or finger to gently smooth it out.
I apply powder with a small, tapered-shape brush, like Real Techniques Makeup Setting Facial Powder Brush. I make sure to stipple and pat it into my face, not rub, to avoid smearing the liquid product around with the brush. I apply the powder to my entire face, making sure all liquid product is locked in.
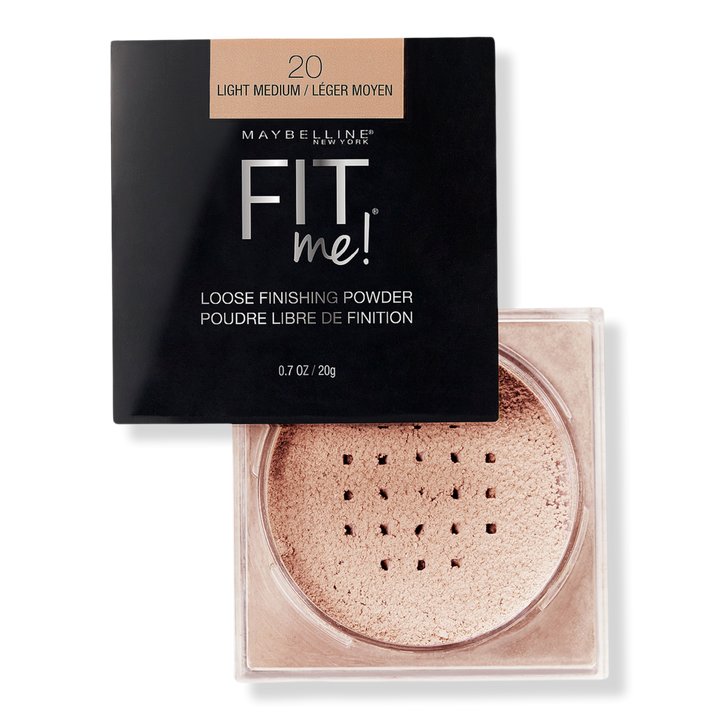
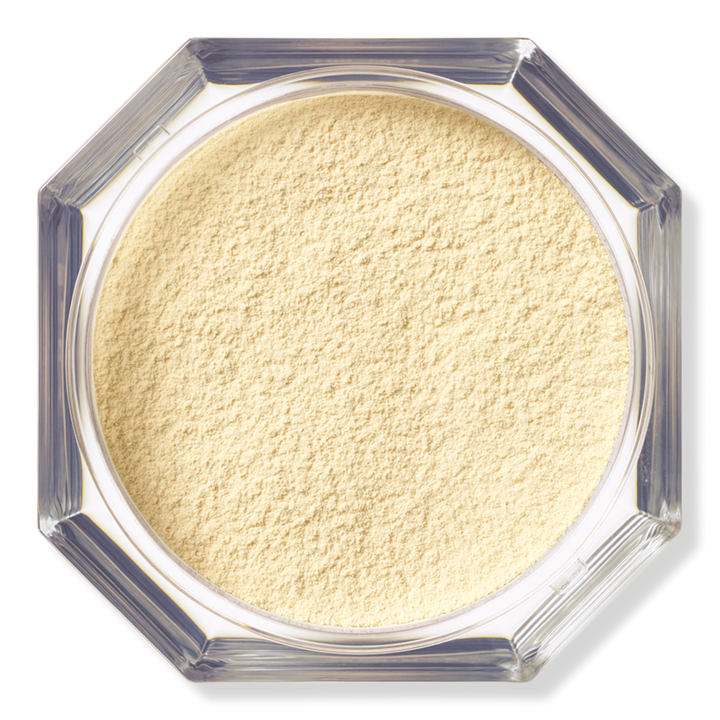
My fave powder: I love love love my Laura Mercier Translucent Loose Setting Powder. Like an ex you can’t get rid of, I have used this powder for years, and every time I try something new, I always come back to it. I have a dry face, and powders love to show it— but not this stuff!! I use the “Glow Finish” version of this powder for my nose and cheekbones to give those areas a nice glow.
If I’m having a bad breakout day, I always reach for my L'Oréal Infallible 24HR Fresh Wear Foundation In A Powder. If I had to choose one base makeup product to use for the rest of my life, this would be it. It covers EVERYTHING. Even the little pad-like sponge included in the compact works well. Please try this!
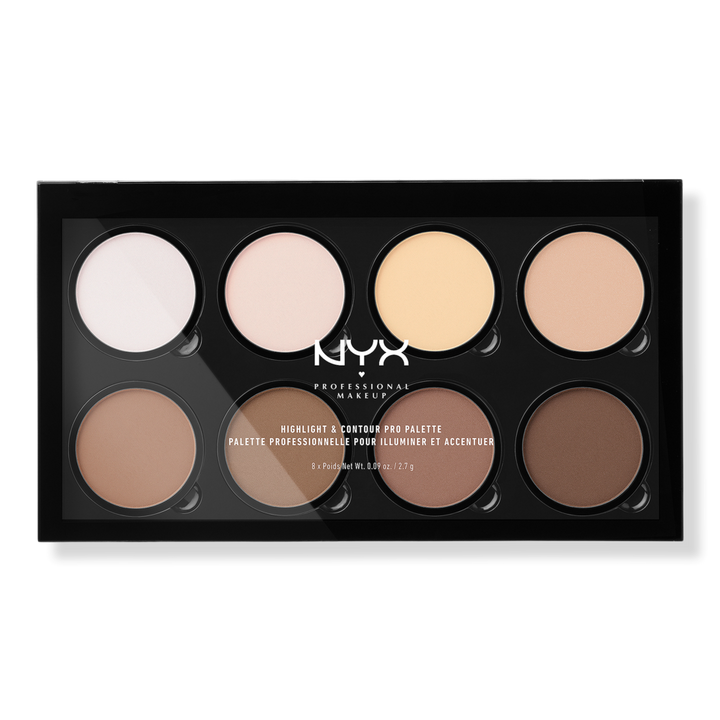
Other recommendations:

Now for contour, bronze, and blush
When I was younger, I used to rub bronzer all over my face. My best friend at the time said a beauty advisor at Sephora told her to only bronze “where the sun hits your face.” I replied, “The sun hits me everywhere!”
We do have to talk about this — there is a difference between contouring and bronzing (and subsequently, there are different products you need for each). Celebrity beauty guru Scott Barnes explains it best. “The biggest difference between contour and bronzer is in how they are used,” Barnes wrote on his website. “Contour is designed to sculpt your face, play with light, and define your features. On the other hand, bronzer is made to bring warmth and accentuate your skin's warm glow where the sun naturally hits your face.”
Bronzers are typically on the warmer side — think “mocha” or “golden brown” shades. Contour shades, on the other hand, are cooler, almost gray-ish looking.
For contour, you want to place the product on the hollows of your cheeks (a good guide for this is making a “kissy face.” Where your cheeks go in — that’s where you put it). I also put contour under my jawline and on the sides of my nose. Since you’re basically sculpting out your face by doing this, precision is important.
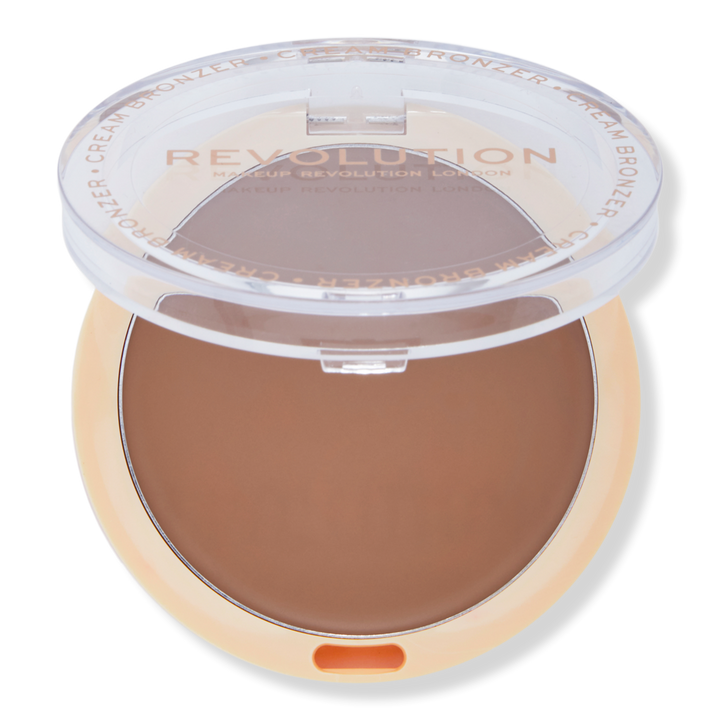
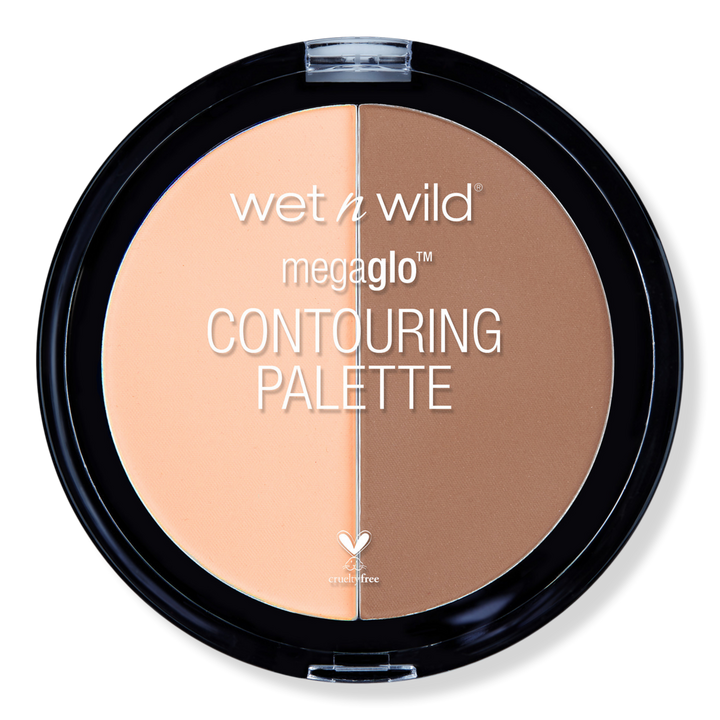
My fave contour: You may find that it’s hard to find an affordable powder contour shade. But I GOT YOU — this one is literally $6.00, and it’s bomb: Essence Contouring Duo Palette.
Bronzer calls for a totally different application. Turns out, the Sephora employee earlier was correct … you should apply bronzer to the areas of the face where the sun is most likely to hit (who knew!). So you would place the bronzer on the outer perimeter of your face, along your hairline, and across your cheekbones.
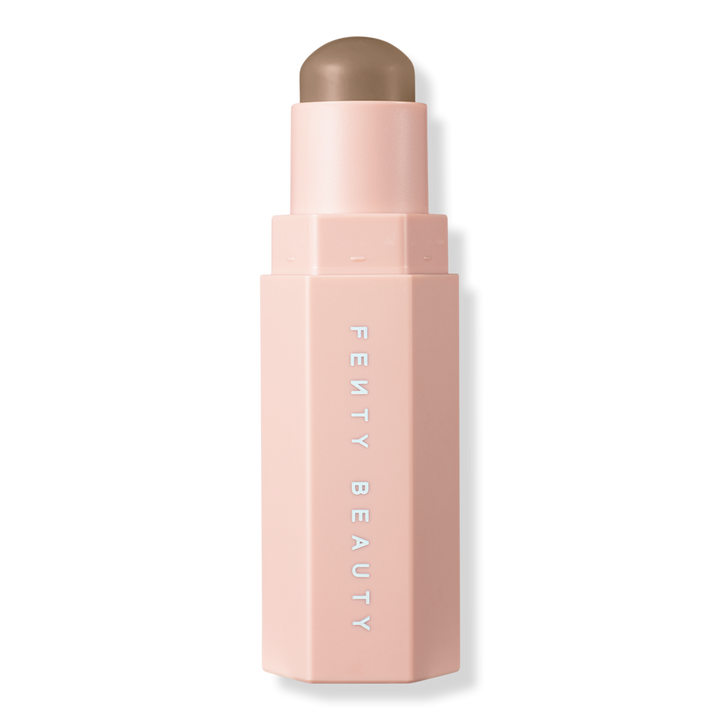
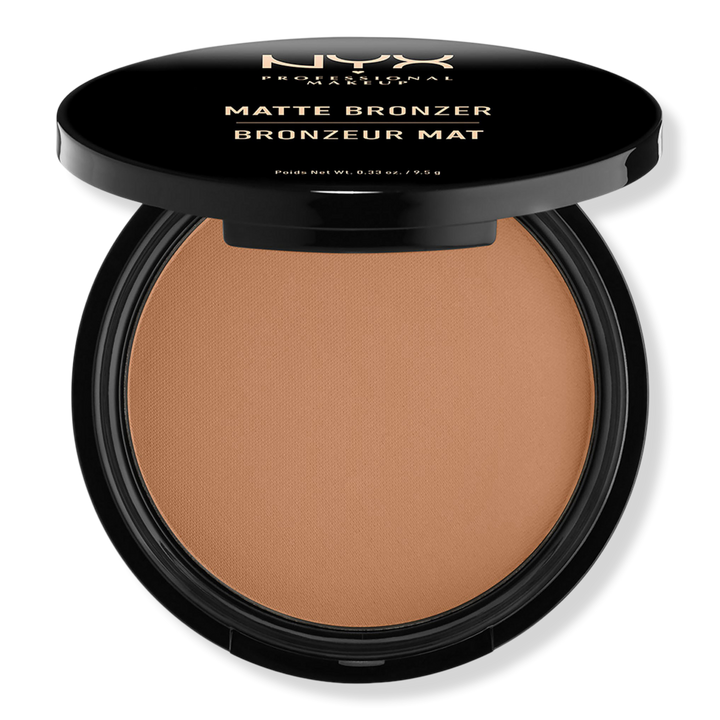
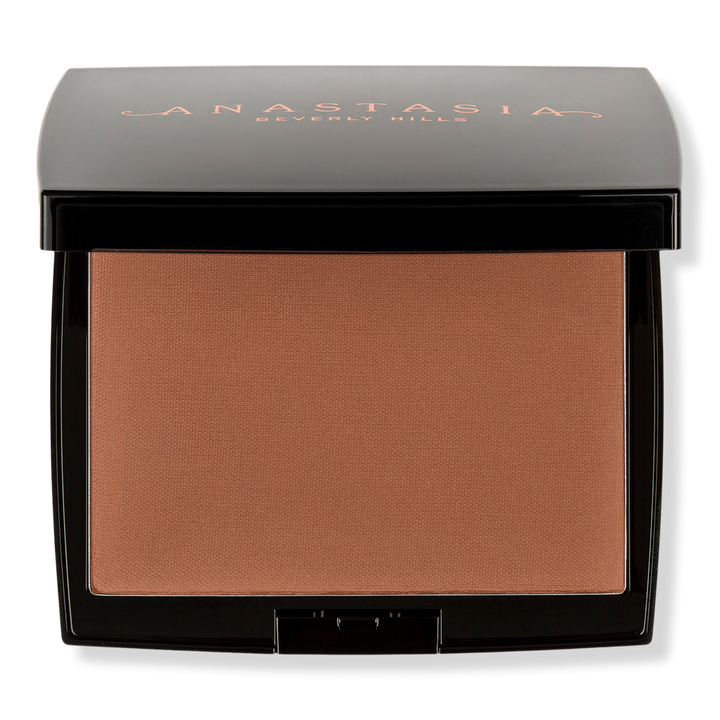
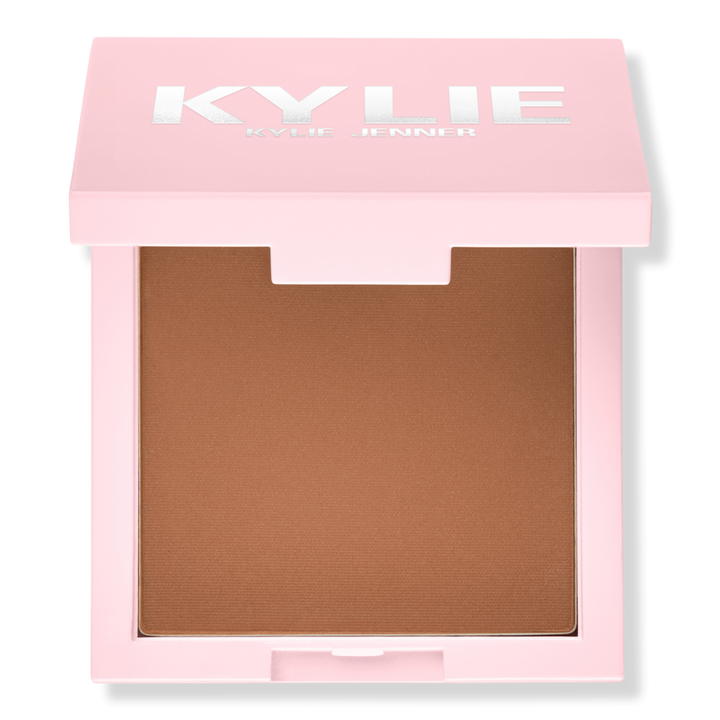
My fave bronzer: I don’t think I’ve ever met a bronzer I didn’t like. I could name like 10 here. But the one I’ve been loving lately is Too Faced Chocolate Soleil Matte Bronzer. It literally smells like chocolate— you have to try it (or at least smell it next time you’re at Ulta/Sephora).
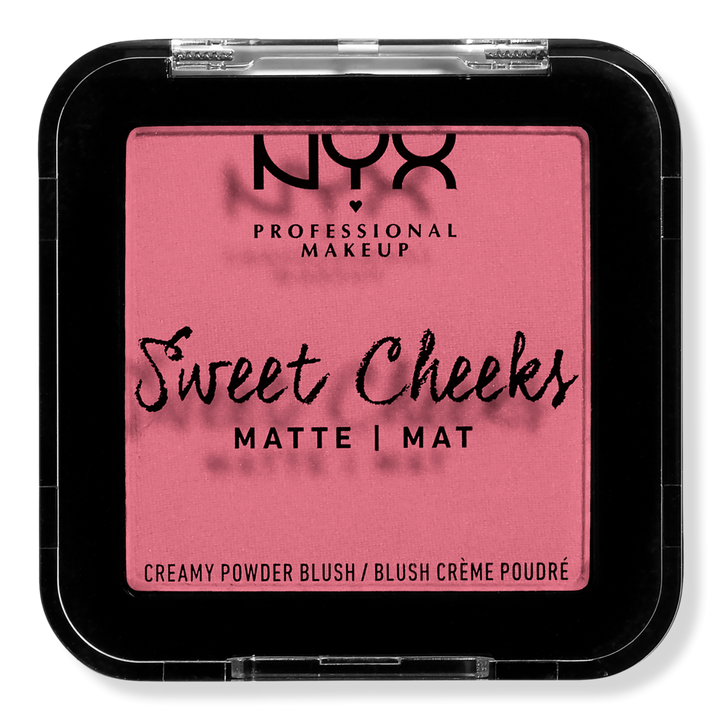
Blush is significantly easier — and gorgeous, gorgeous girls always over-blush!
I place blush just above my contour. Many apply blush on the apples of the cheeks for a rosier, rounder-cheeked look. I prefer a lifted look, so placing it above the contour really works for that.
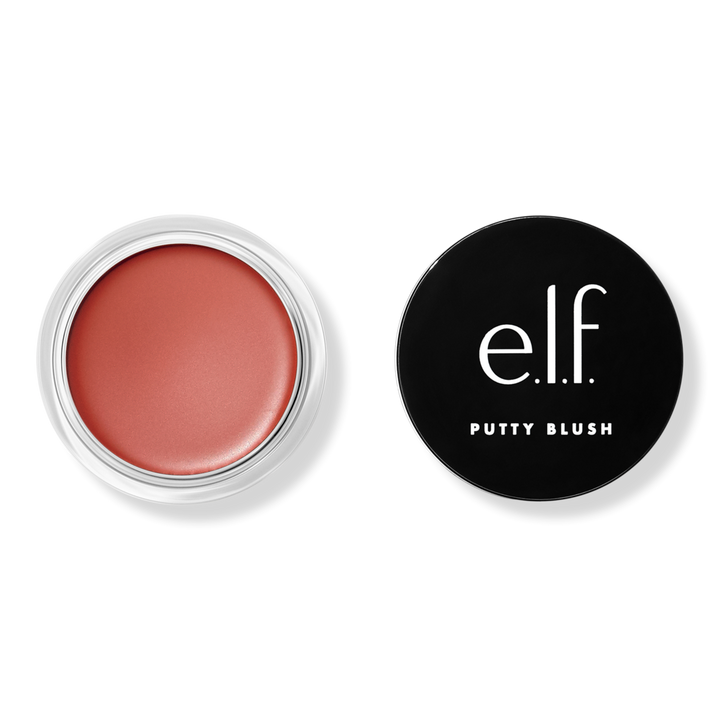
My fav blush: I love having options, and the e.l.f. Cosmetics Powder Blush Palette is great for that because there are four shades to choose from. I lean towards that baby pink shade on the upper left — it makes me look ethereal, and I’m here for it. But honestly, all the colors in the palette are gorgeous, and I def. recommend it!
Other recommendations:
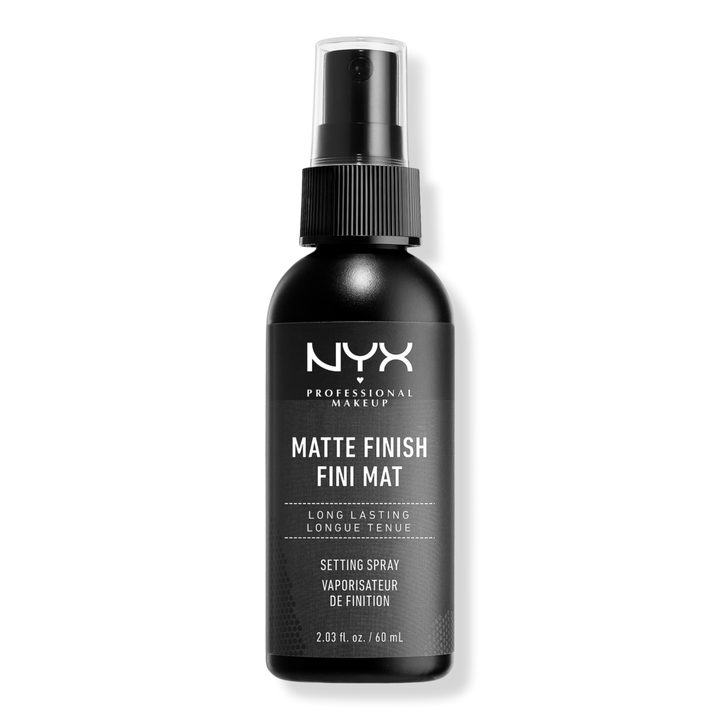
Don’t forget to set it all in with a setting spray
Setting spray is just as important as the million high-maintenance steps above, so you won’t want to skip it. There are various types of setting sprays that cater to different desired looks and needs — matte finish, dewy finish, long-lasting, oil-control, etc. Misting the face with a setting spray after all your hard work is complete not only locks the makeup in but makes the skin look less cakey as well. Some think setting sprays are a hoax and don’t work, but they absolutely do.
This trick is the reason my makeup always looks so good by the end: I mist the setting spray all over my face and on a damp beauty blender. I lightly tap the beauty blender on my face, melting all of my products together.
My fave setting sprays: I have two favorites: one to keep my makeup lasting all night (and I mean ALL NIGHT) and one that leaves my skin looking hydrated and glowing. The one that keeps my skin looking flawless all night literally has “all-nighter” in its title: Urban Decay Cosmetics All Nighter Long-Lasting Makeup Setting Spray. Ugh, this stuff is magic. I use it mainly for special occasions or nights out. For daily wear, I use Morphe Continuous Setting Mist. It leaves my skin looking so radiant and really melts my makeup together. The continuous mister bottle is also super cool and allows for an all-over application.
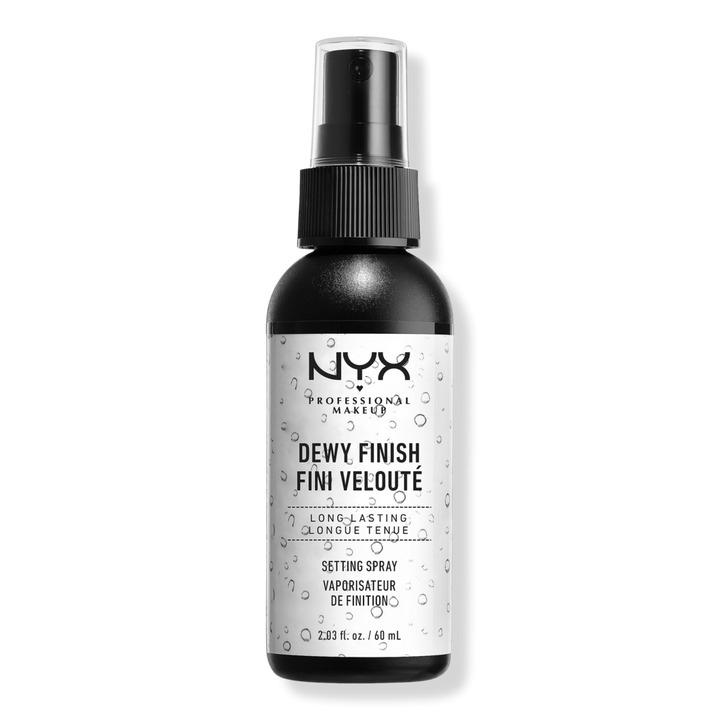
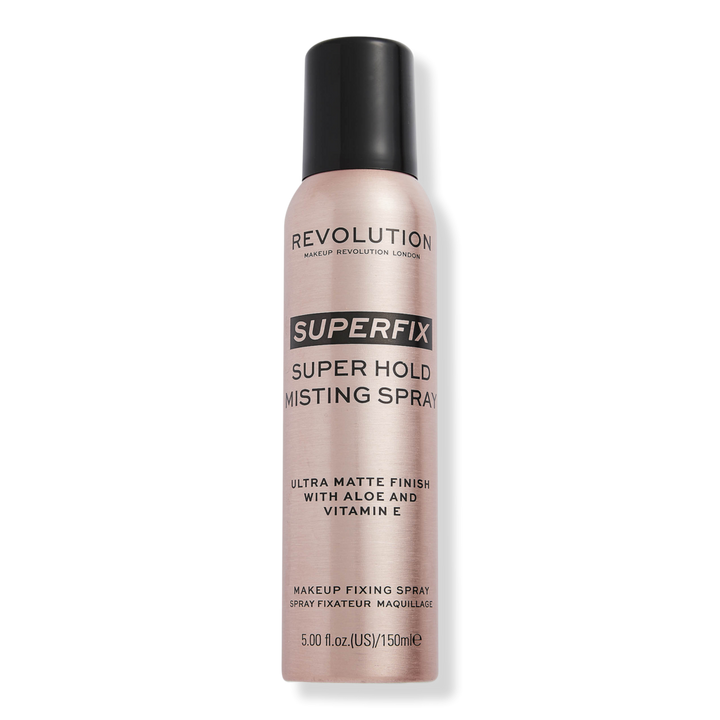
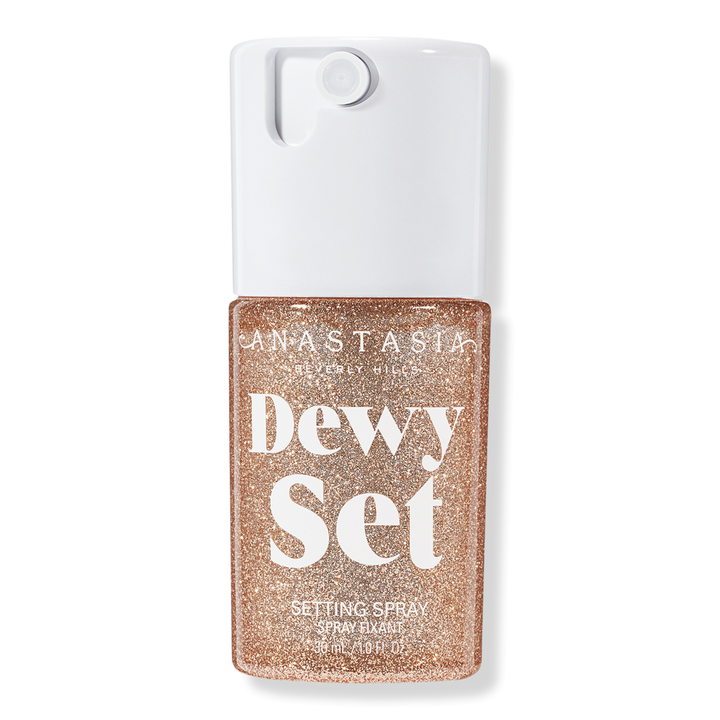
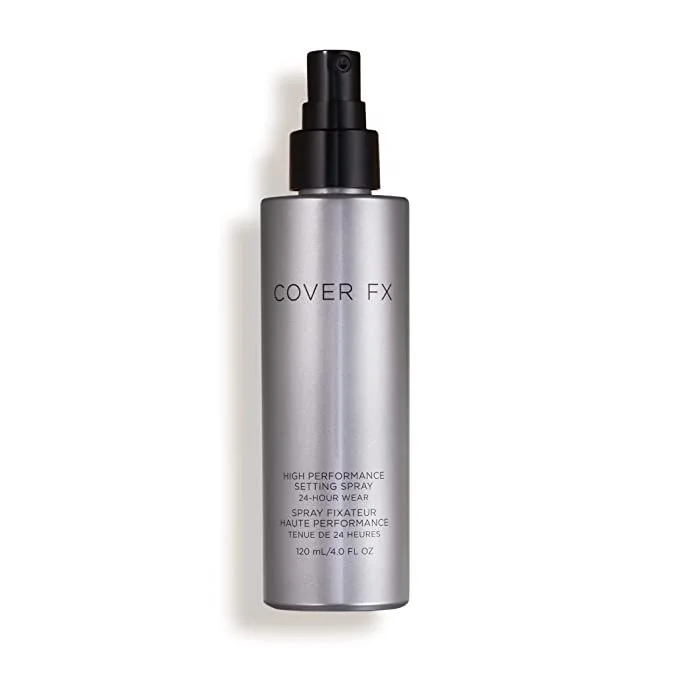
Other recommendations:
AND VOILA! Your base makeup is done … now time to move on to the eyes 😉
No, but seriously, it does seem like a lot — and truthfully, to some, it is. Whether you prefer a full-coverage application or a “can you even tell I’m wearing makeup?” look, I hope some of the products listed above work for you.
Let’s talk about it in the comments below! ❤️